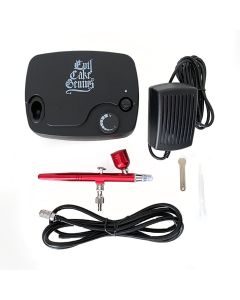
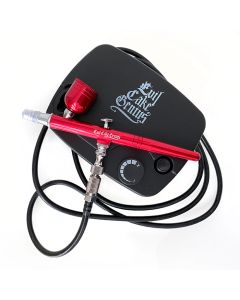
Evil Cake Genius Essential Airbrush Kit
Set up, tips & troubleshooting
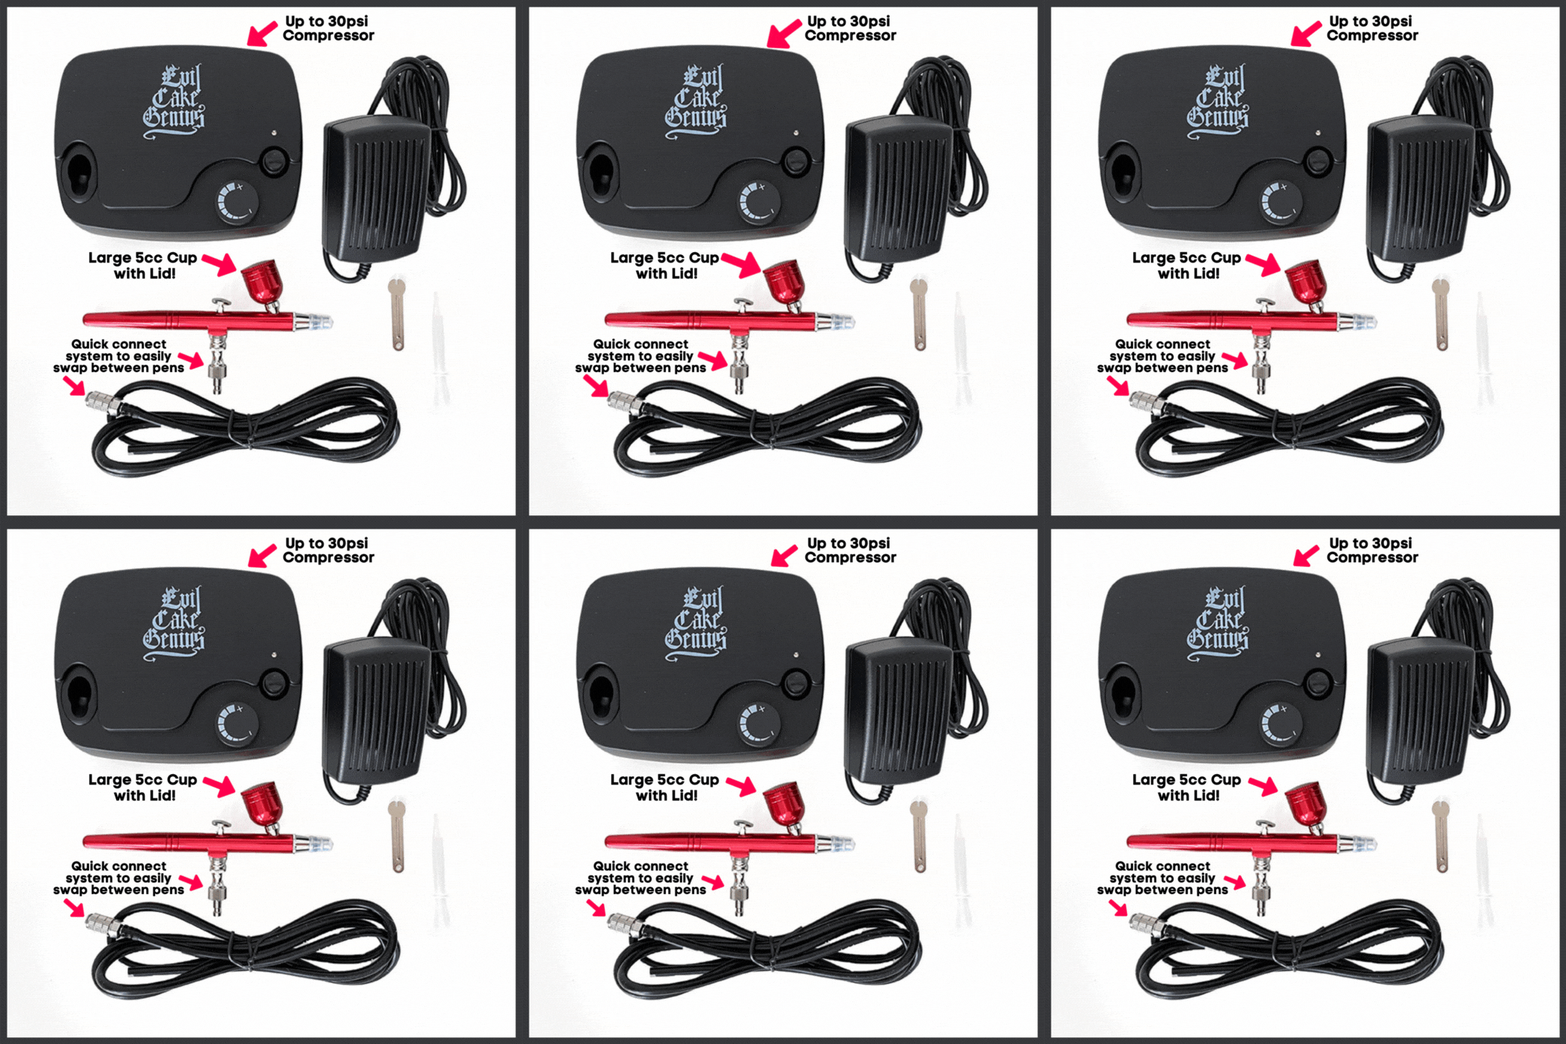
• Compressor (beefy up to 30 PSI) with US plug.
• Air hose with Quick Release Attachment that makes it easy to switch between pens when working on a project.
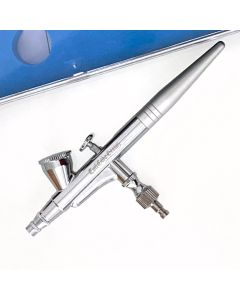
• Airbrush Pen with .5 head: perfect for Stenciling, shading, spraying large areas, and using Pigment Based Airbrushed Colors.
• Pen has a LARGE 5cc COVERED airbrush color cup. So, hooray!! no spilling on your cake or cookies!!
Welcome to the Ancient art of Airbrushing! Just kidding. It’s not ancient. But it is cool. So… welcome. Let’s get started.
Before you get started, remember: mastering airbrushing takes practice, so don’t worry if your first few tries aren’t perfect! The good news is it doesn’t take long at all to get proficient at airbrushing and soon you’ll wonder how you ever lived without one! Enjoy yourself while you learn and if you need a little extra help, just email us at [email protected]
Airbrush Color 101
What colors can I use?
It goes without saying, but we’re going to say it anyway... You can’t just throw any old color in your airbrush. Just because it’s a color and it’s liquid, doesn’t mean it qualifies… haha. The Evil Cake Genius Airbrush Colors are specifically designed to work with this system (and we think they’re the best for many reasons, read more here) BUT yes, there are other airbrush colors on the market that will also work just fine. Just make sure the colors are made for airbrushing.
ALSO… you CAN use our Artisan Accents gel colors and mix with dilution solution to make your own airbrush colors. Whaaa?? Yep. Super convenient! Read all about it here.
Shimmer and Metallic Colors
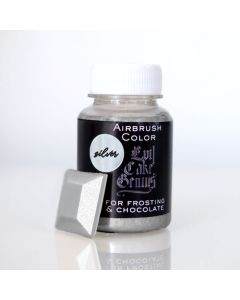
Yes. We have our own Evil Cake Genius Metallic Airbrush Colors here…. You can also mix alcohol (the higher proof the better so the alcohol evaporates and leaves the color) or Dilution Solution with our Shiny as Hell Edible Luster Dusts to create metallic airbrushed masterpieces. Your airbrush kit came with a .5mm nozzle which should be plenty big to allow the metallic powder to flow through. Start by adding a very small amount of luster and add from there. Too much and it will clog your gun! It will take a little getting used to, but you’ll figure out the perfect balance of luster to liquid. BE SURE TO CLEAN your gun always, but ESPECIALLY after using this technique. If the metallic dust dries in your gun, it’s sure to not work the next time you need it!
Enough talk. Let’s set this thing up!
Get Set Up
Unwrap the airhose and connect the plain black end to the nozzle on the compressor. The other end has an easy quick connect system that allows you to easily switch between guns if you have an extra one. Your airbrush system came with a .5mm Nozzle Single-Action Airbrush Gun which will work great with regular OR metallic airbrush colors. If you want a little more detailed spray, we do offer a .3mm Nozzle gun available below.
Let’s start spraying!
Oooh! Heads up. You’re about to start spraying color! There will be overspray and it will get a little messy. Just be sure to prep your space with this in mind. Better to be safe than sorry! You don’t want to turn your domesticated animals or kids purple now.. Do you?
Once your hose is securely attached, remove the cover on the gun well. Add a few drops of airbrush color to the gun well and replace the cover.
Grab a paper towel or something you can practice spraying on. Once you get the hang of it, THEN you can start creating edible magic. But first, let’s practice a bit.
Ok, plug in your machine. Now hit the power button and turn the knob fully clockwise. High pressure is your best friend—it gives you that smooth, even spray you’re after. When the machine is on, air flows, but color won’t appear until you pull back the trigger.
Spraying Like a Pro
Let’s get the feel of this!
Ease into it by gently pulling back on the trigger and start with light, even layers. This will start to give you a feel for the machine. Don’t try to cover everything in one go. Layer your color in light passes for a killer finish. Keep a steady hand and aim to spray from 6-8 inches away from your target.
Practice Makes Perfect
Now let’s fool around a bit with the gun trigger and the air pressure knob on the compressor. Try different combinations. The more you play around, the better you’ll get and the better you get the more genius you’ll look! Have fun!
Keep It Clean
A quick rinse with warm water between colors can prevent your gun from getting gunked up and keep it running like a dream.
Cleaning Rituals
Keeping your airbrush system clean isn’t just maintenance—it’s a ritual. After each use, spray out any leftover color until it’s empty. Then fill the gun well with warm water and spray until it runs clear, you may have to fill the well more than once. For a deeper clean, place your finger over the nozzle cap, pull the trigger, and let the water work its way back through the gun. Don’t forget—cleaning immediately after use is key. Trust us… this will save you time down the road. Pulling out your airbrush when you really need it and it not working is very avoidable, just make cleaning a habit!
Troubleshooting
Blotchy Color
If your color is blotchy, you’re probably too close to the surface or pulling the trigger too hard. Pull back lightly and keep a good 6-8 inch distance.
Uneven Spray
Low pressure, a clog, or an air leak could be to blame. Try a deep clean, and make sure the pressure knob is cranked up to max.
Gun Spraying Without Trigger
This means the needle isn’t pushed forward enough. Carefully push it all the way forward and lock it in place with the needle nut.
Inconsistent Pressure
Check the compressor, hose, and gun for any issues. If the problem persists, just email us at [email protected] - We will make sure to get you taken care of.
Let’s be safe, ok?
Use your airbrush system with caution. It’s not a toy (even though it can feel like one!) Store it out of reach of kids and don’t mess with the plug. Seriously.
The Evil Cake Genius Guarantee
We don’t leave our customers hanging. If you have a problem, contact us at [email protected] and we’ll happily make you happy!
Ready to get excited about your new airbrush? Check out these 6 techniques right here.
Hey Cookiers... Check out Airbrushing with Killer Zebras Layered Stencils or Our Stay Put Stencils
Here's some more products you might want to check out:
Swipe For More Products >>>

