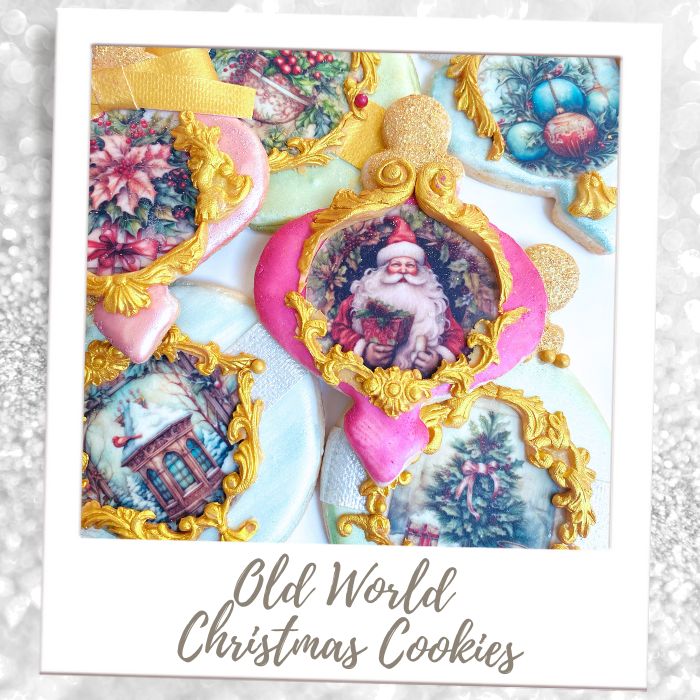
Let's Make Old World Christmas Cookies!
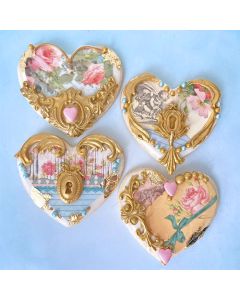
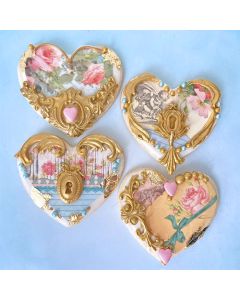
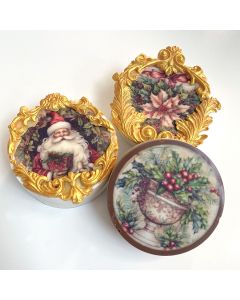
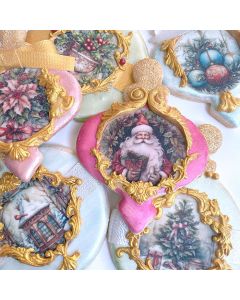
These cookies are the Unicorn of Christmas Cookies. Not only do they look like little works of art but they taste amazing! The ECG swapped out Royal Icing for Shiny Cookie Icing for a better flavor, and MUCH better texture, without compromising stackability and package-ability. And she replaced fondant molded accents with Chocolate Paste molding for a softer texture and melt-in-your-mouth characteristic. Now all she has to do is mentally prepare to watch people inhale her little masterpieces. They are, after all, meant to be eaten! The best part, is that our new printed icing sheets make these not only easy, but FUN to make...and the ECG is going to show you how.
Let's start with the cookies. Click HERE to get the BEST sugar cookie recipe in existence. Then, dip them in Shiny Cookie Icing, throw them in a food dehydrator for about a half hour to set up the top of the icing (or let them dry on the counter for 8-12 hours) and you're ready to do all the fun stuff!
Let's Start with the Shiny Cookie Icing. This stuff sets up with a nice top crust, but remains soft underneath, so your cookies can be stacked and packaged without damage and eaten without risk of dental damage! For advanced cookiers, you can thicken up a portion of the icing to pipe around the edges of the cookies and flood them with the more liquid icing (just like you would with Royal Icing) but the ECG prefers to simply dip the cookies to speed up the process and get to the fun part faster...watch:
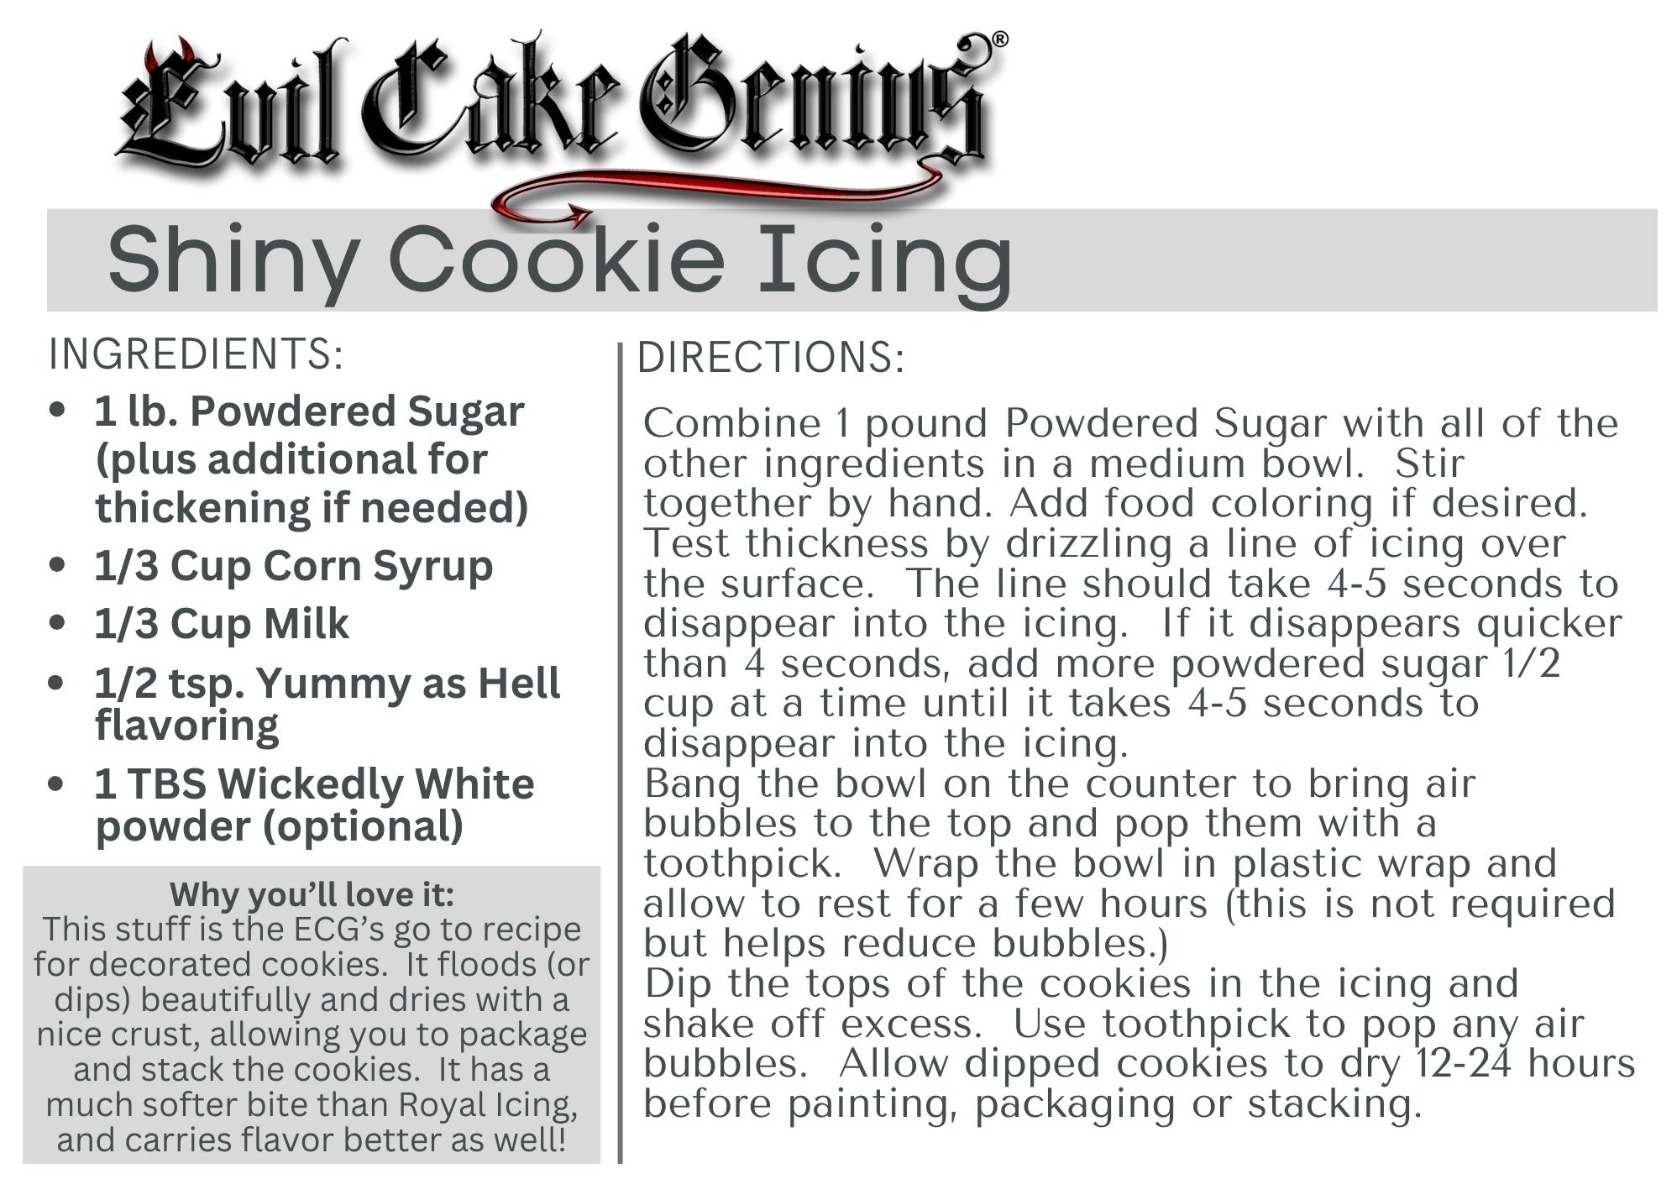
Since she knew she was going to paint these cookies, she didn't add the optional Wickedly White Powdered Whitener to the Icing Recipe (see below) but if you are using the icing without any painting, add the whitener for a bright, opaque white! Here's the recipe:
Here are all the things you need (besides the icing ingredients) to get started:
Swipe For More Products >>>
Now make the chocolate paste (or skip this step, and buy our ready made chocolate paste on the next product carousel!) The chocolate paste can be made in advance to save time on decorating day. The ECG usually makes hers while the Shiny Cookie Icing is setting up overnight.

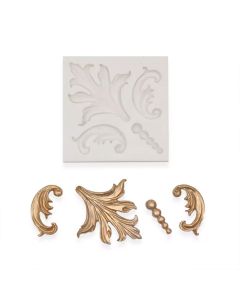
Now onto the fun part! We made paint by combining our Shiny As Hell Edible Luster Dusts and Activator. If you attach the icing sheets and ribbon before the paint is dry, they will stick to the damp paint surface (no need for edible glue!) While the paint is drying, make the filigree pieces. Just dust any silicone filigree mold (we've listed the ones we used below) with our Shiny as Hell Gold Edible Luster and fill the molds. The chocolate paste will set up in the fridge to hold it's shape, but once the pieces are unmolded, they remain flexible, so you can form them to the curve of the cookie. Oh, and did she mention that it tastes like white chocolate Tootsie Rolls? Sign her up!
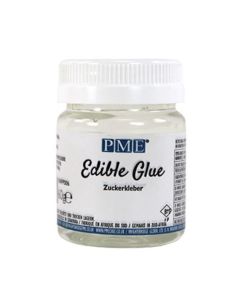
Then attach the filigree, bows, and any other embellishments you want using edible glue! We just left the camera recording while the ECG and Jenna were having a play with these.
Check out the Process: (Full Length Narrated Tutorial Further Down This Page)
Here' s everything you need to make your own!
Start with your Chocolate Paste, Lusters and Activators to make Paint, and Filigree Molds:
Swipe For More Products >>>
Now, choose your Icing Sheets and Edible Ribbon:
Swipe For More Products >>>
Now, the edible glue, gold glitter and other odds and ends :
Swipe For More Products >>>
Here's the Full Length Narrated Tutorial!
Feeling a little short on time?
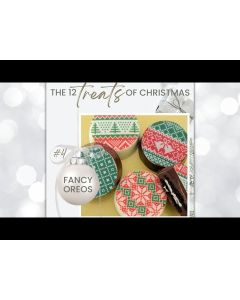
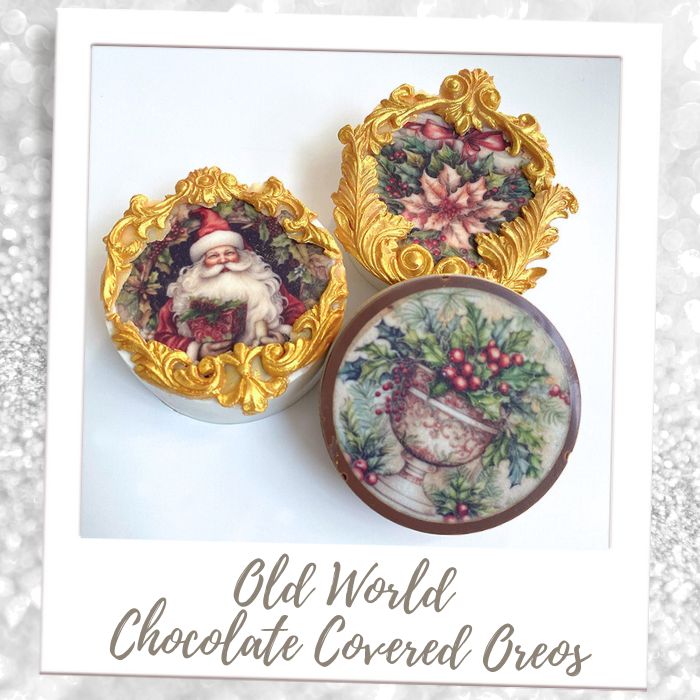
Get the same gorgeous look without baking or frosting cookies with our Old World Chocolate Covered Oreos Tutorial HERE


