Summertime Chocolate Covered Oreo HQ
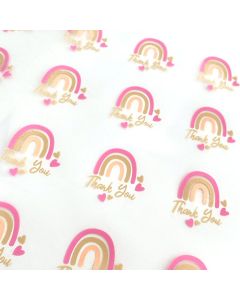
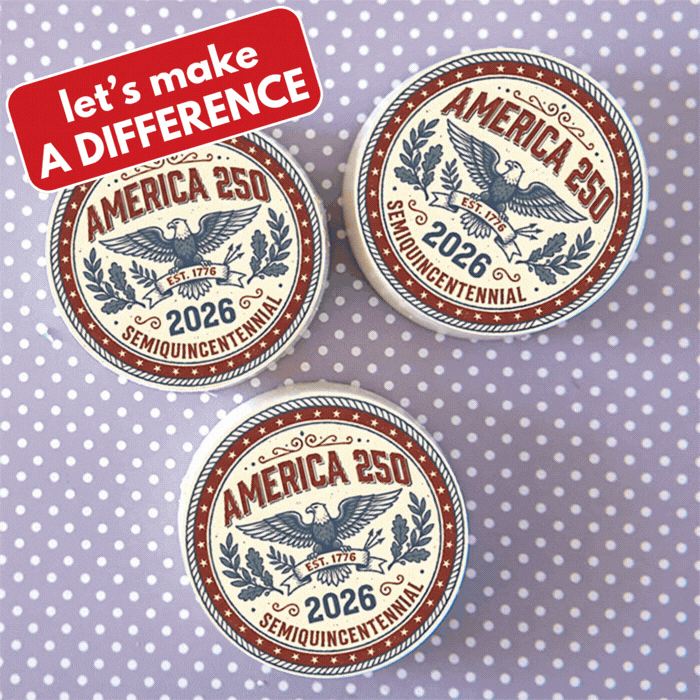
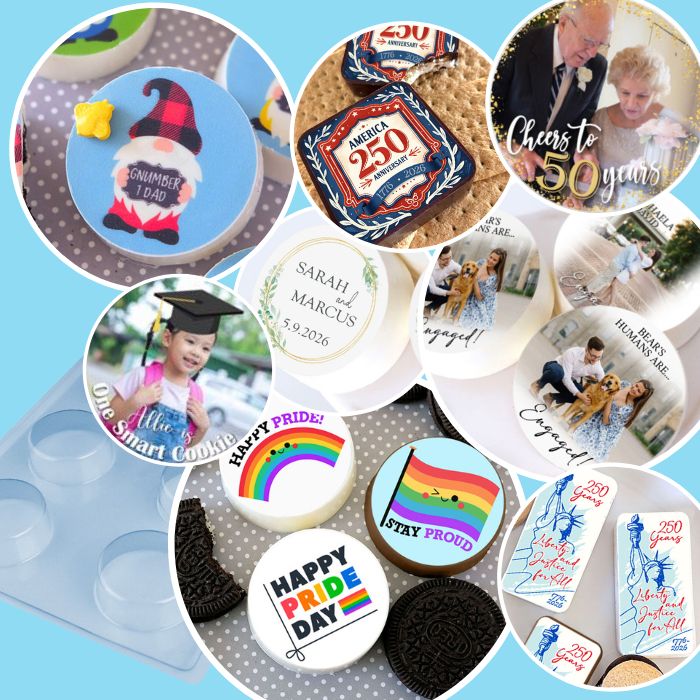
Summer is the perfect time to make these perrenial favorite treats! Whether you're Celebrating Dads, Grads, Weddings, or 4th of July, nothing beats a chocolate covered Oreo as a gift or party snack! AND 25% of the sales of our NEW 4th of July Designs go directly to help those in need! Scroll down to shop, but first here's a preview of the designs. You can read more about how you purchase helps Make a Difference here.
• You can also easily make cupcake toppers with your mold by putting only a thin layer of chocolate on top (no cookie). So you can mix up the ways that everybody will wish they were you.
This method is amazingly detailed, and so easy, that you can have the kids help! Here's how easy these and impressive these are:
Customize for Grads and Weddings. Watch:
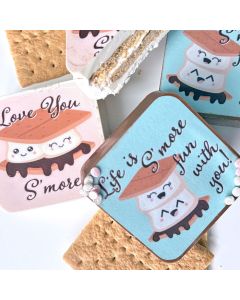
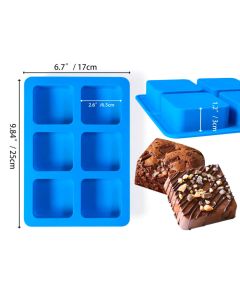
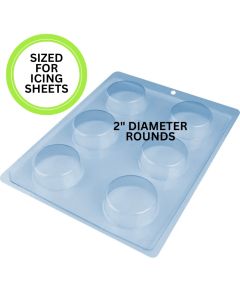
Keep scrolling for Dads and Weddings. Here's those basic Oreo, Nutter Butter and Treat Square Molds and a bunch of Grad-worthy Cookie Icing Sheets:
Swipe For More Products >>>

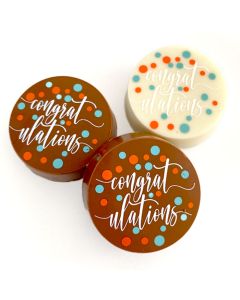
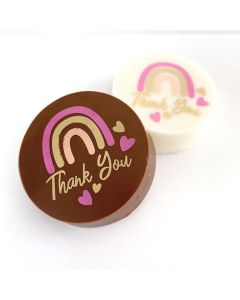
Don't forget the extracurriculars, and of course, teacher thank yous!:
Swipe For More Products >>>


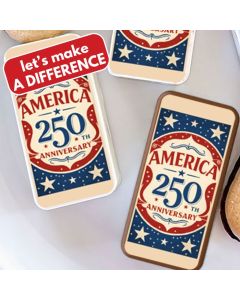
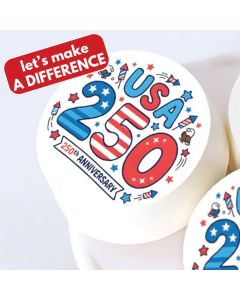
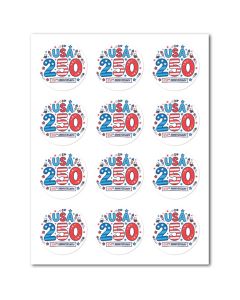
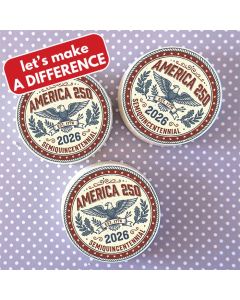
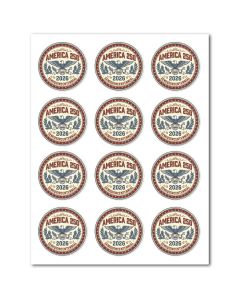
4th of July & Pride Month Designs - We're donating 25% of ALL NEW 4th of July Design Sales to Charity. Read about it here:
Swipe For More Products >>>


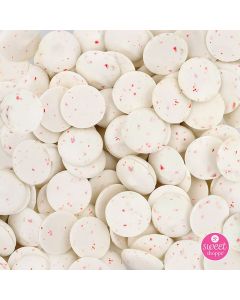
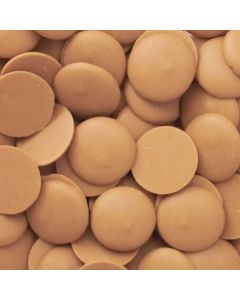
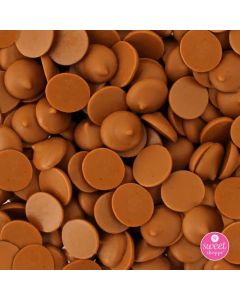
And don't forget the no-tempering-required coating chocolate:
Swipe For More Products >>>


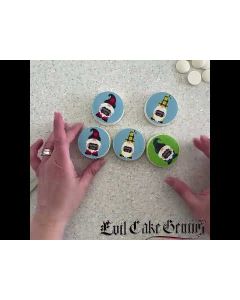
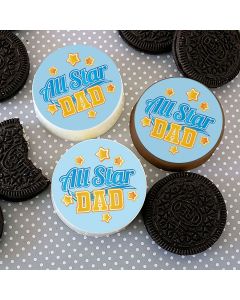
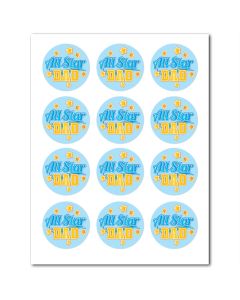
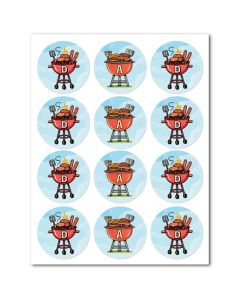
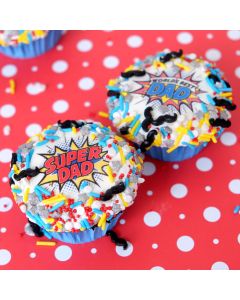
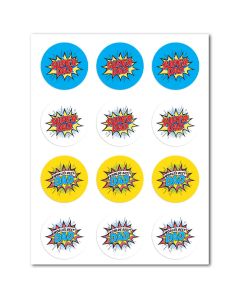
Here's a bunch of designs for Dad:
Swipe For More Products >>>


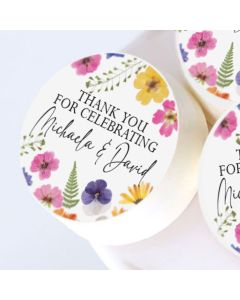
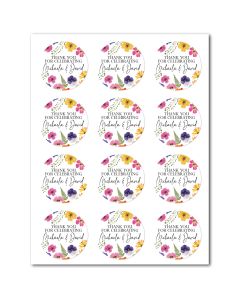
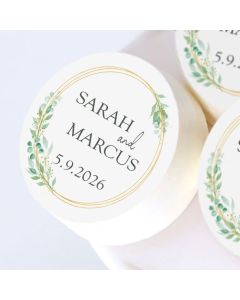
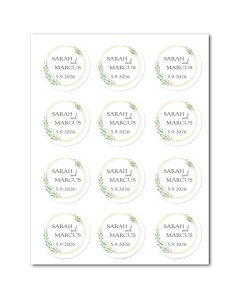
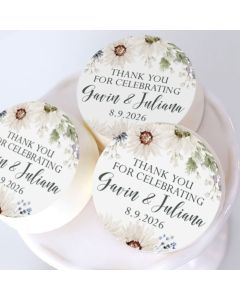
And Weddings and Anniversaries:
Swipe For More Products >>>
Don't see something you're looking for? Browse ALL Categories Here:
Now On To Classic Molding...
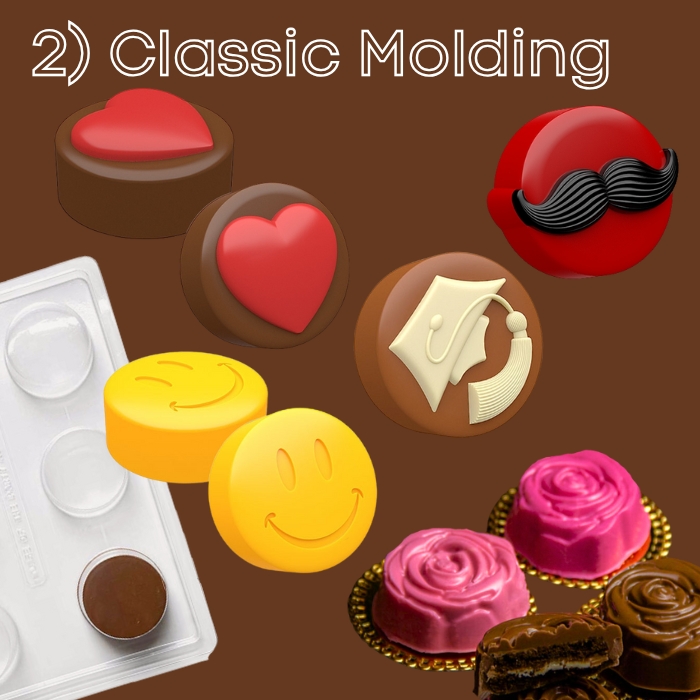
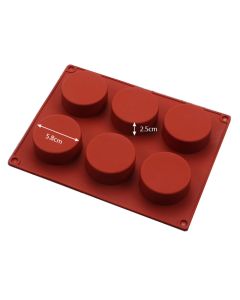
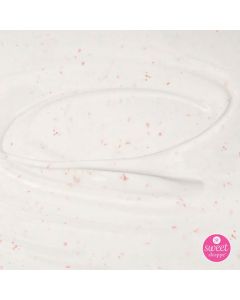
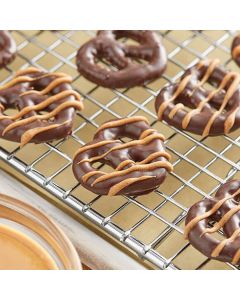
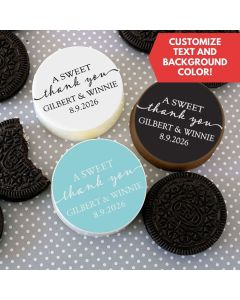
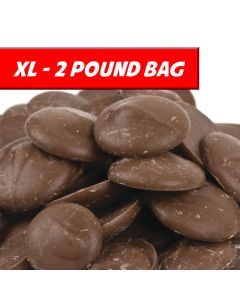
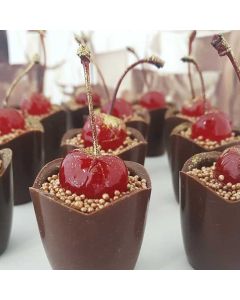
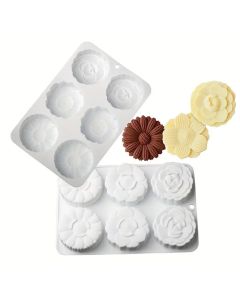
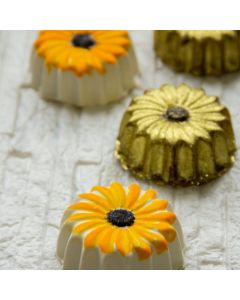
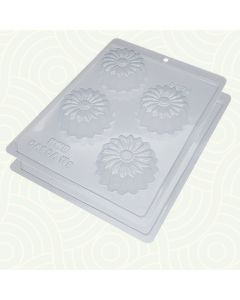
You can hand-dip, or use a mold for perfect edges. The ECG is a bit Type A+ so she always uses a mold. They're cheap, and make the Chocolate Covered cookies uniform, and uber shiny. Use the classic plain mold if you plan to drizzle with chocolate and sprinkles, or for using transfers or icing sheets (like we did above). Or use any of the embellished molds for fun raised patterns that you can mold in contrasting colors (simply stir any oil based candy color into melted white coating) or paint with Paints formulated for chocolate after unmolding. MOST IMPORTANTLY, ditch the Craft Store Candy Melts. Use any of our Compound Chocolate Coating wafers by Merckens, or Clasen. They don't require tempering, just melt them in the microwave on 15 second intervals, and mold, and they taste divine!
Here's The Coatings and Candy Color:
Swipe For More Products >>>
And the molds:
Swipe For More Products >>>


Here's One More Way to Decorate These Bad Boys... Chocolate Transfer Sheets!
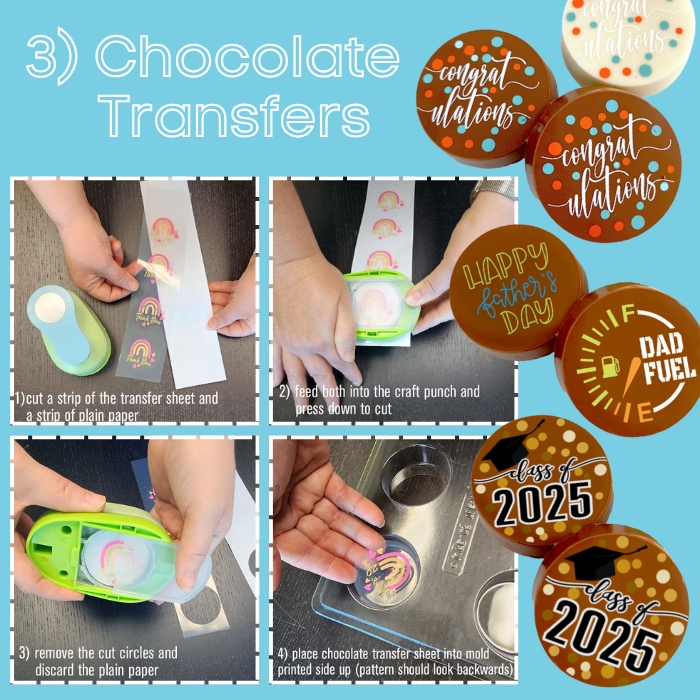
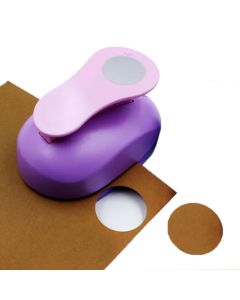
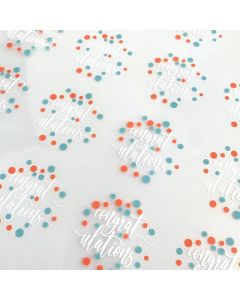
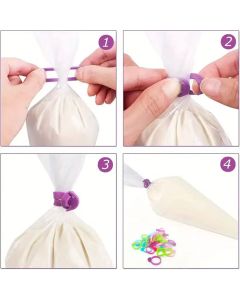
The ECG loves these things for making truffles in those super-easy magnetic molds (HERE) but they also work great for Oreos! Just use our 2" Craft Punch to punch out circles, and place them directly in the Cookie Mold (printed side up, the pattern should look backwards when filling the molds). Set them up in the fridge, turn them out, and remove the shiny backing. The patterns will melt in your mouth!
Here's a full tutorial for using these:
Shop all the summer-worthy designs (including Dads, Grads, and Weddings) below: